Accessing Local Group Policy
Accessing Local Group Policy in Window Server 2016 requires a slightly different method to be used as compared to in previous versions of Windows Server.
To access Local Group Policy, please follow the below guide.
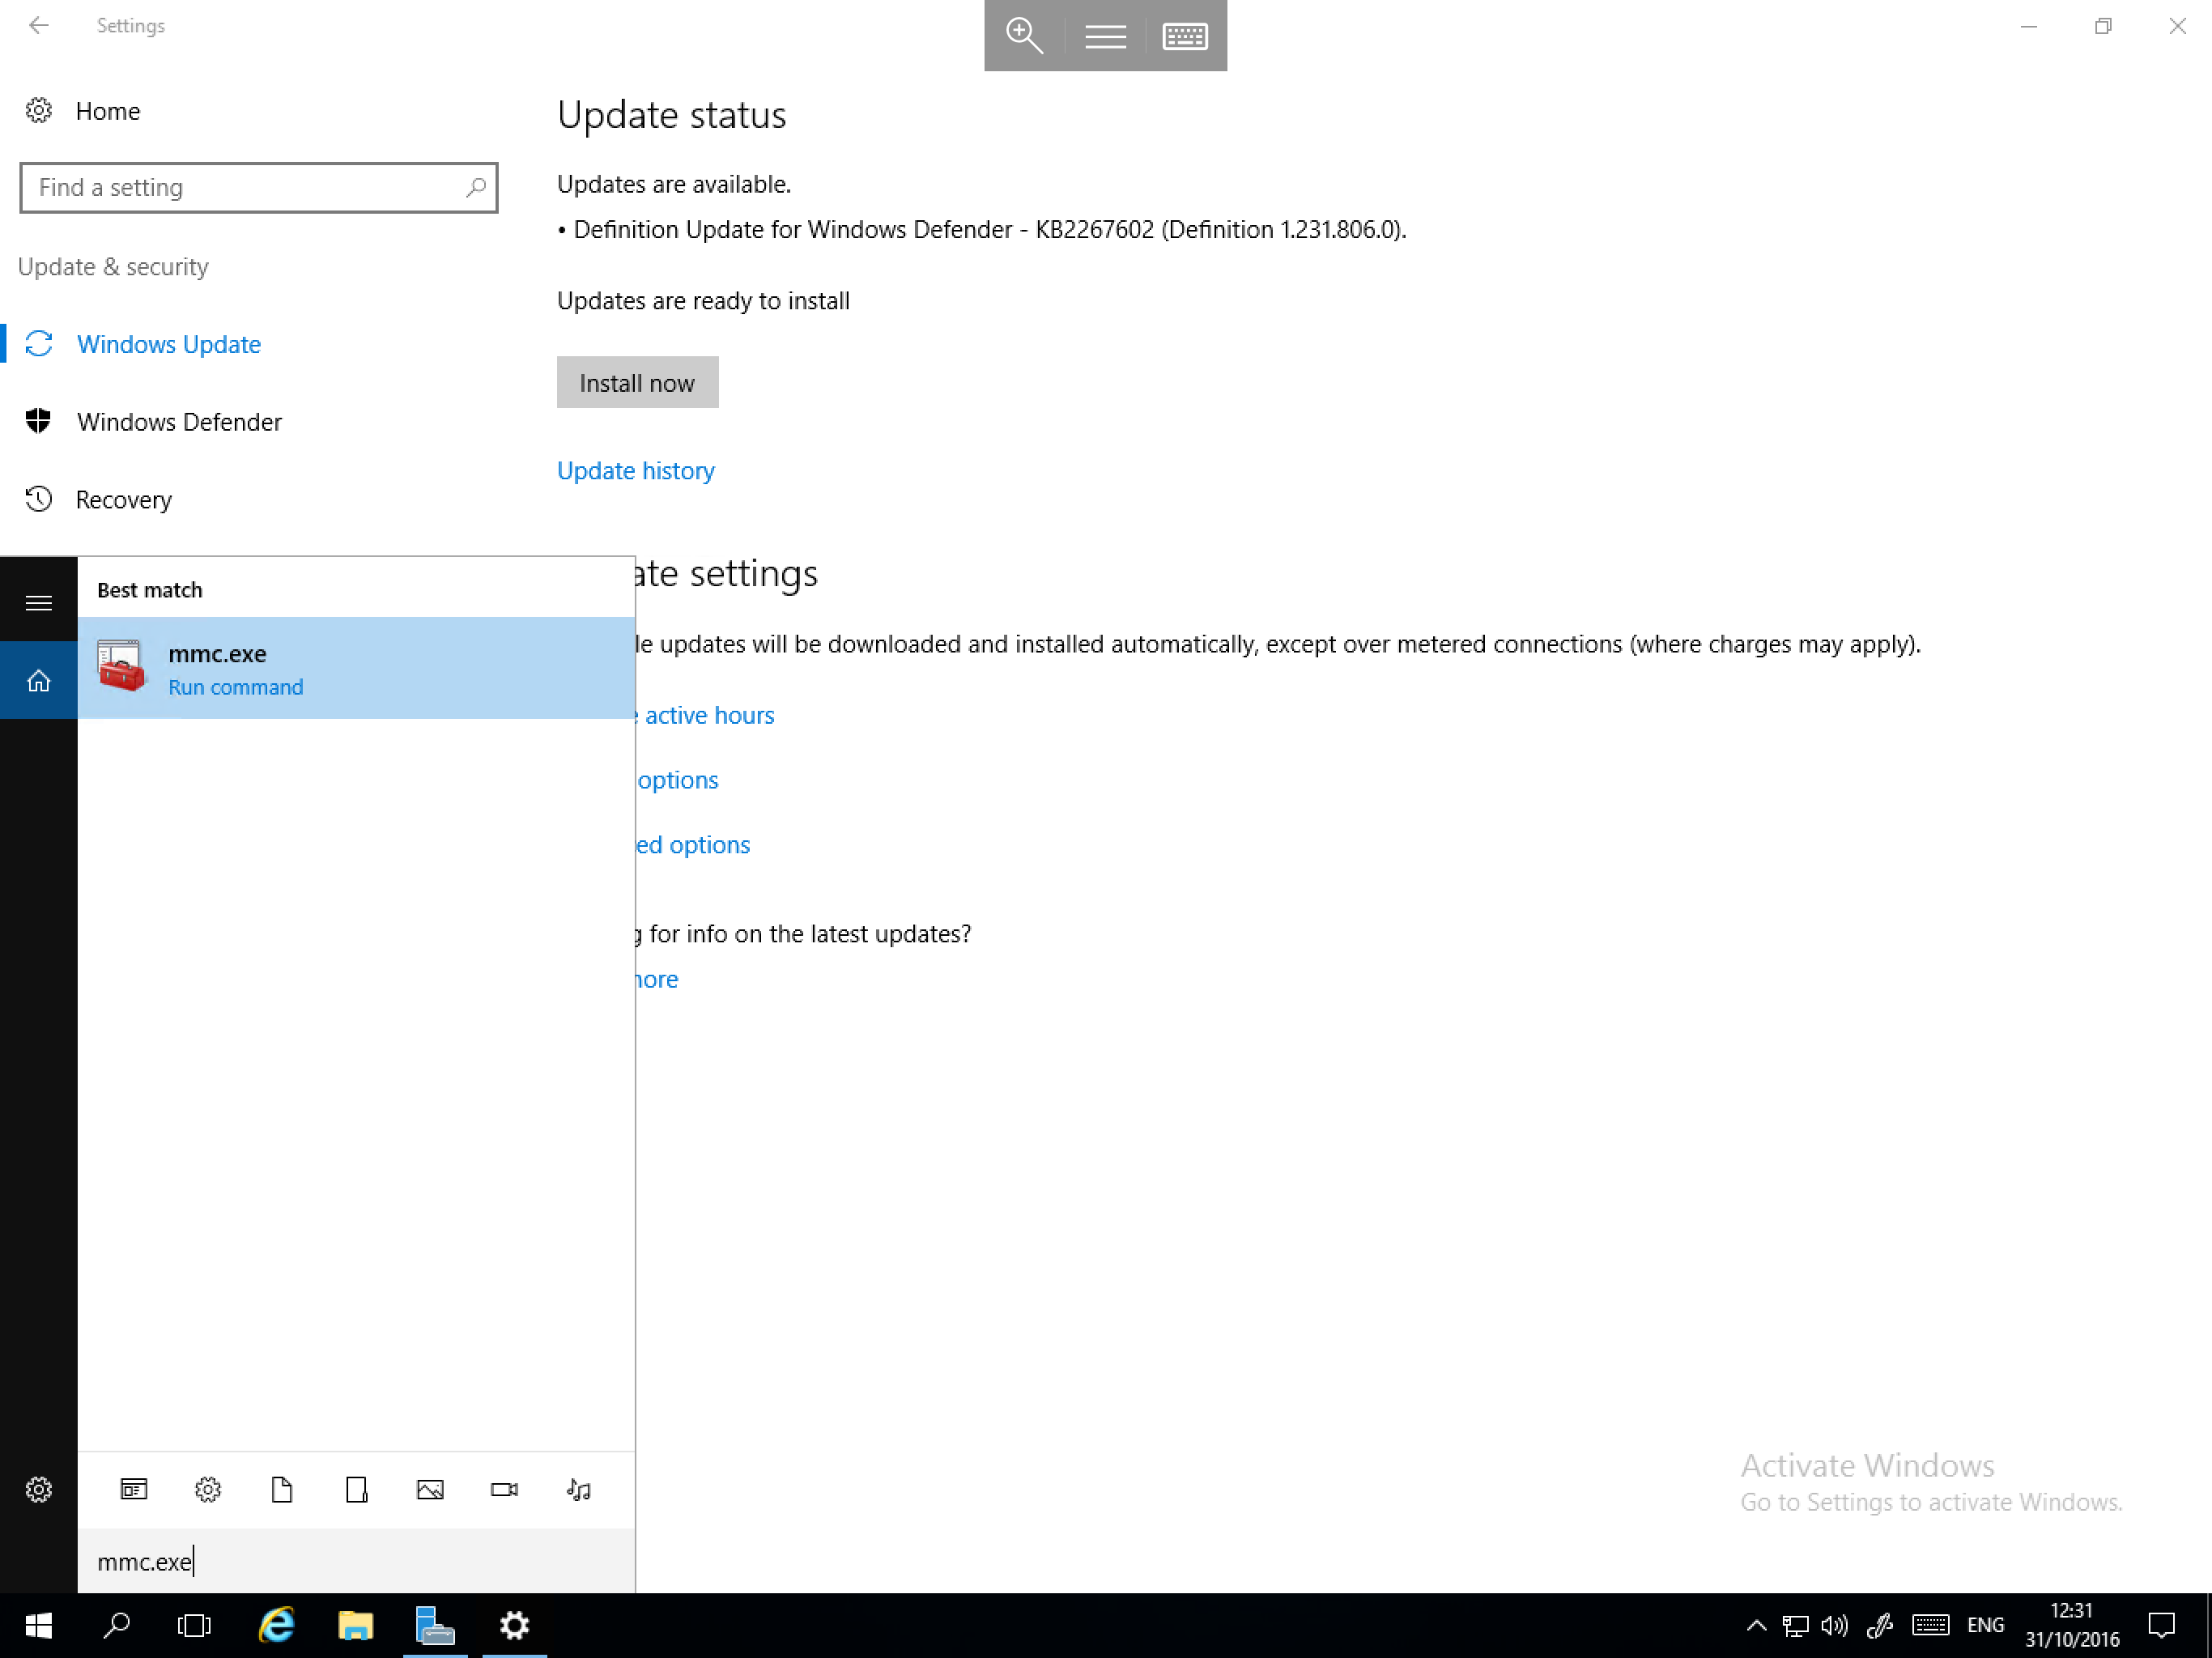
Select the Start menu and type MMC. Select the resultant MMC.EXE as below:
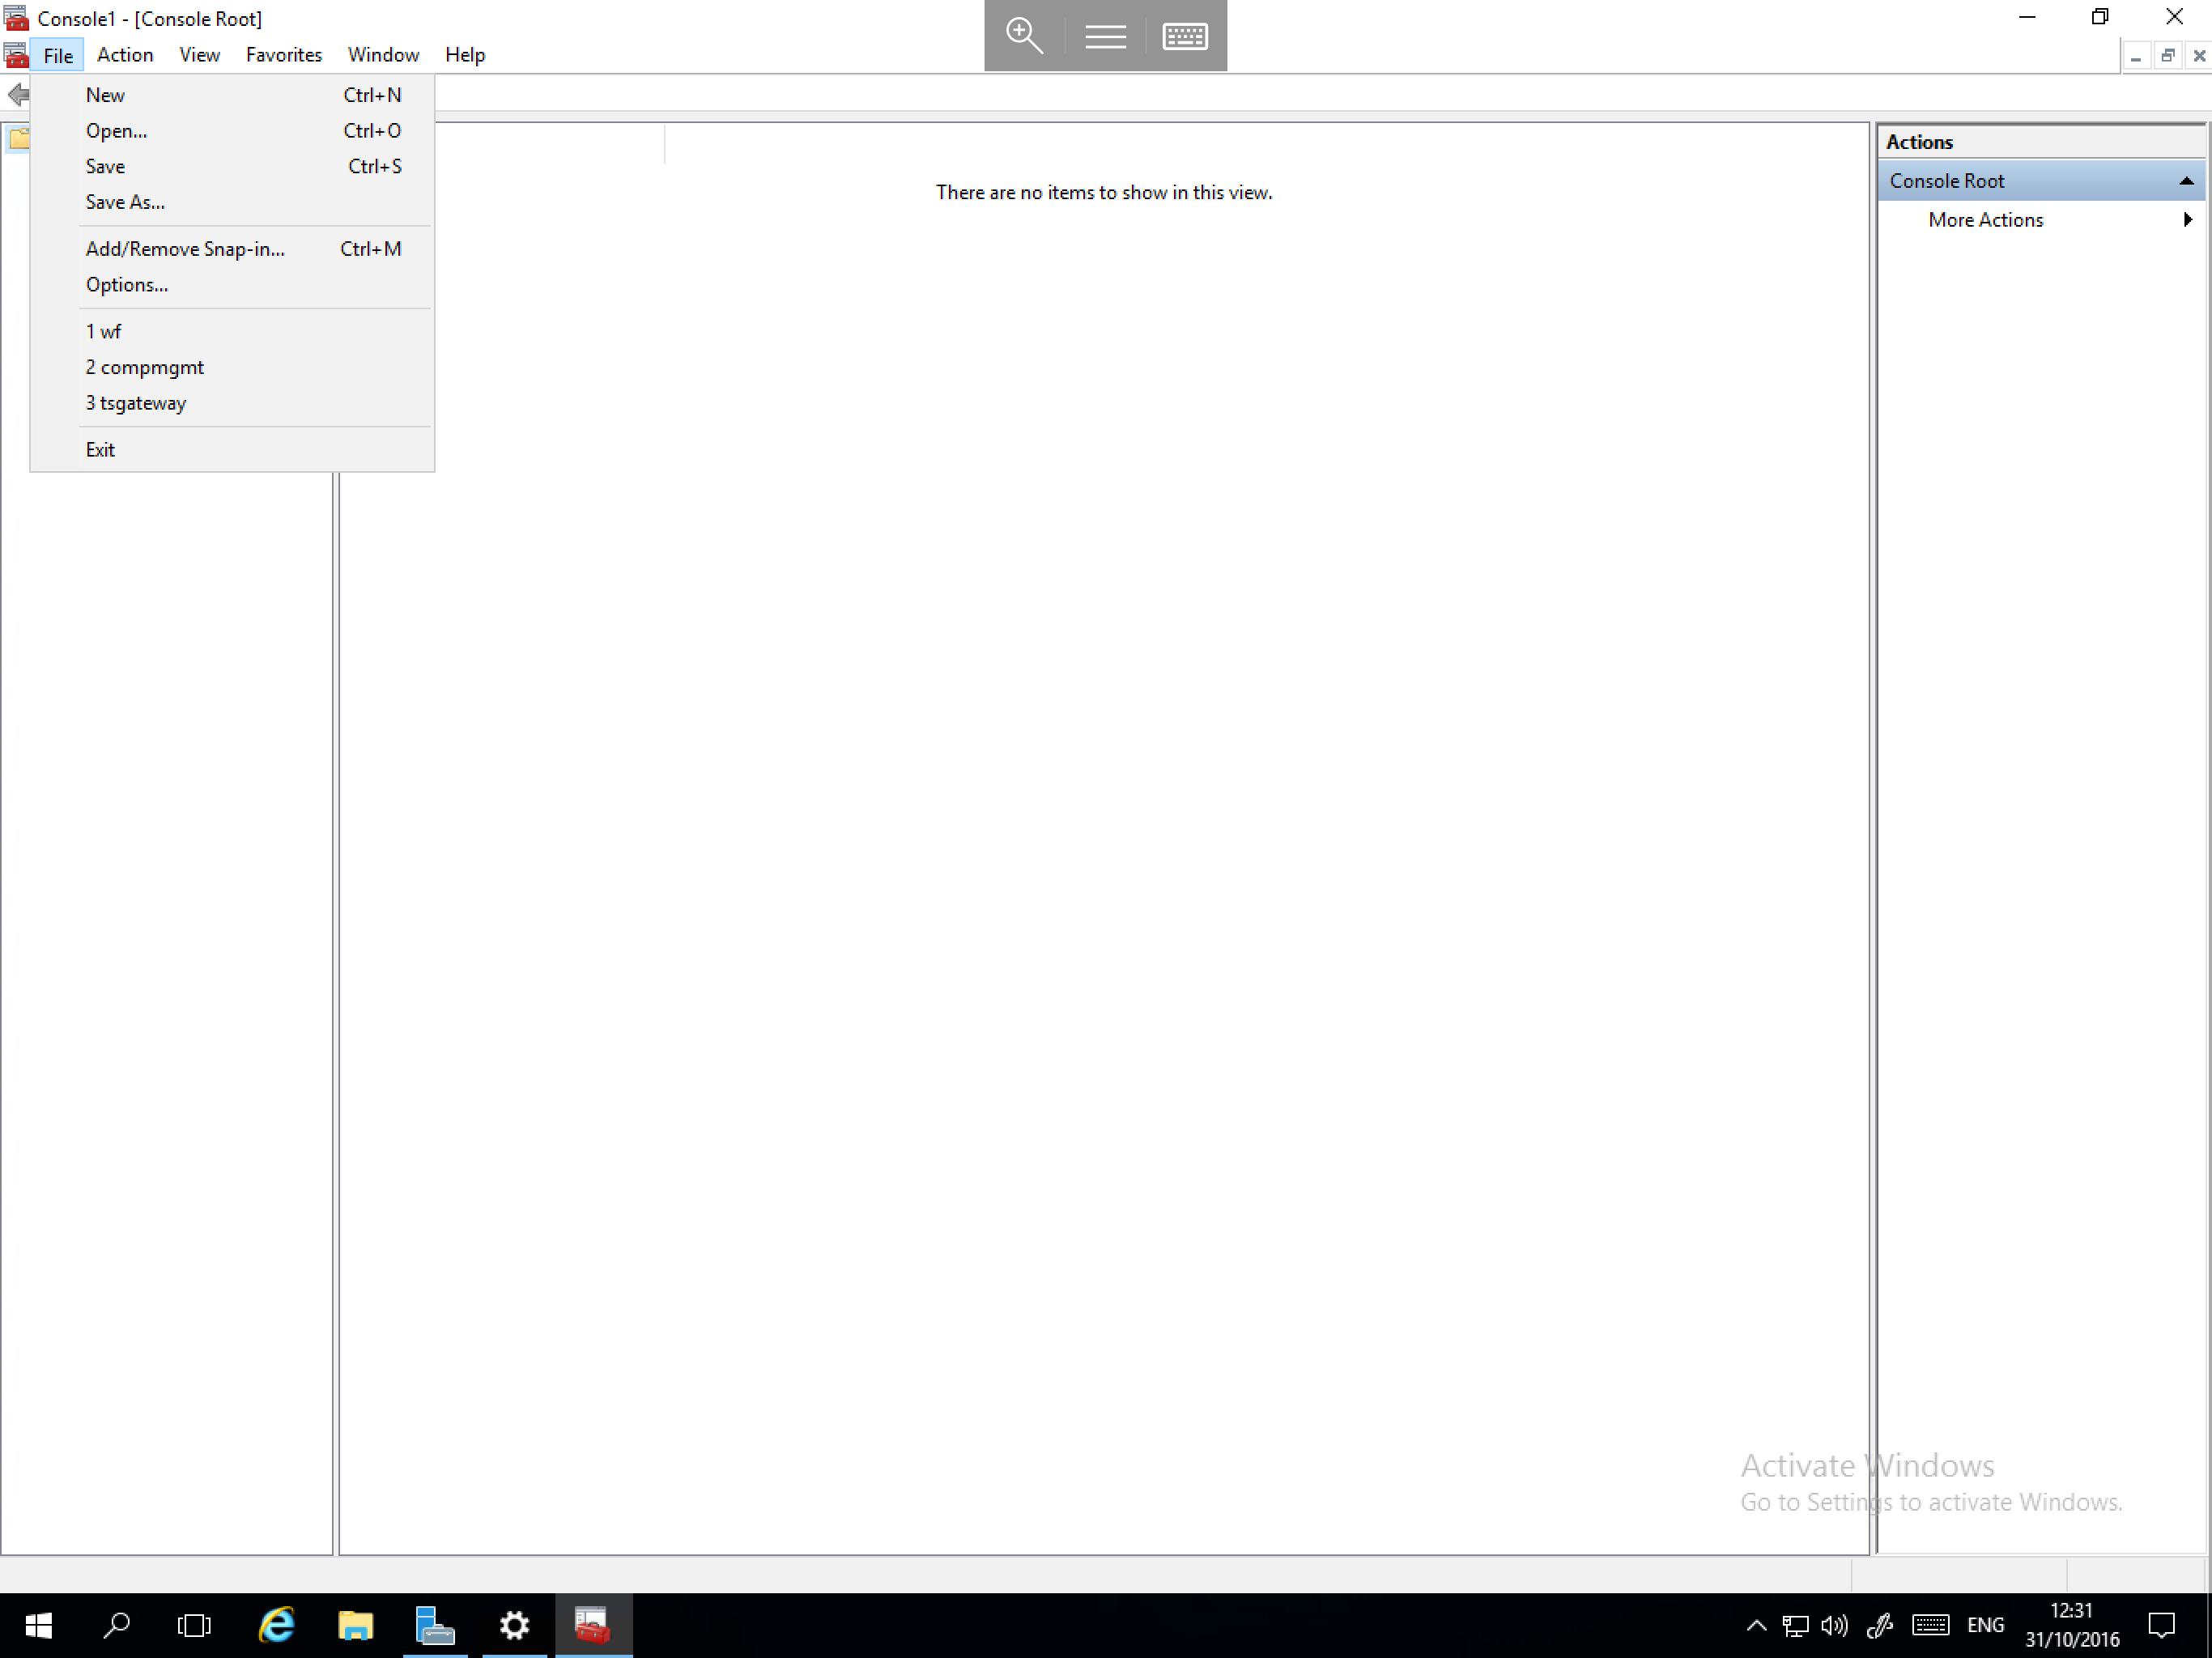
You will now be presented with a blank Management Console window. Select File and Add/Remove Snap in... as below:
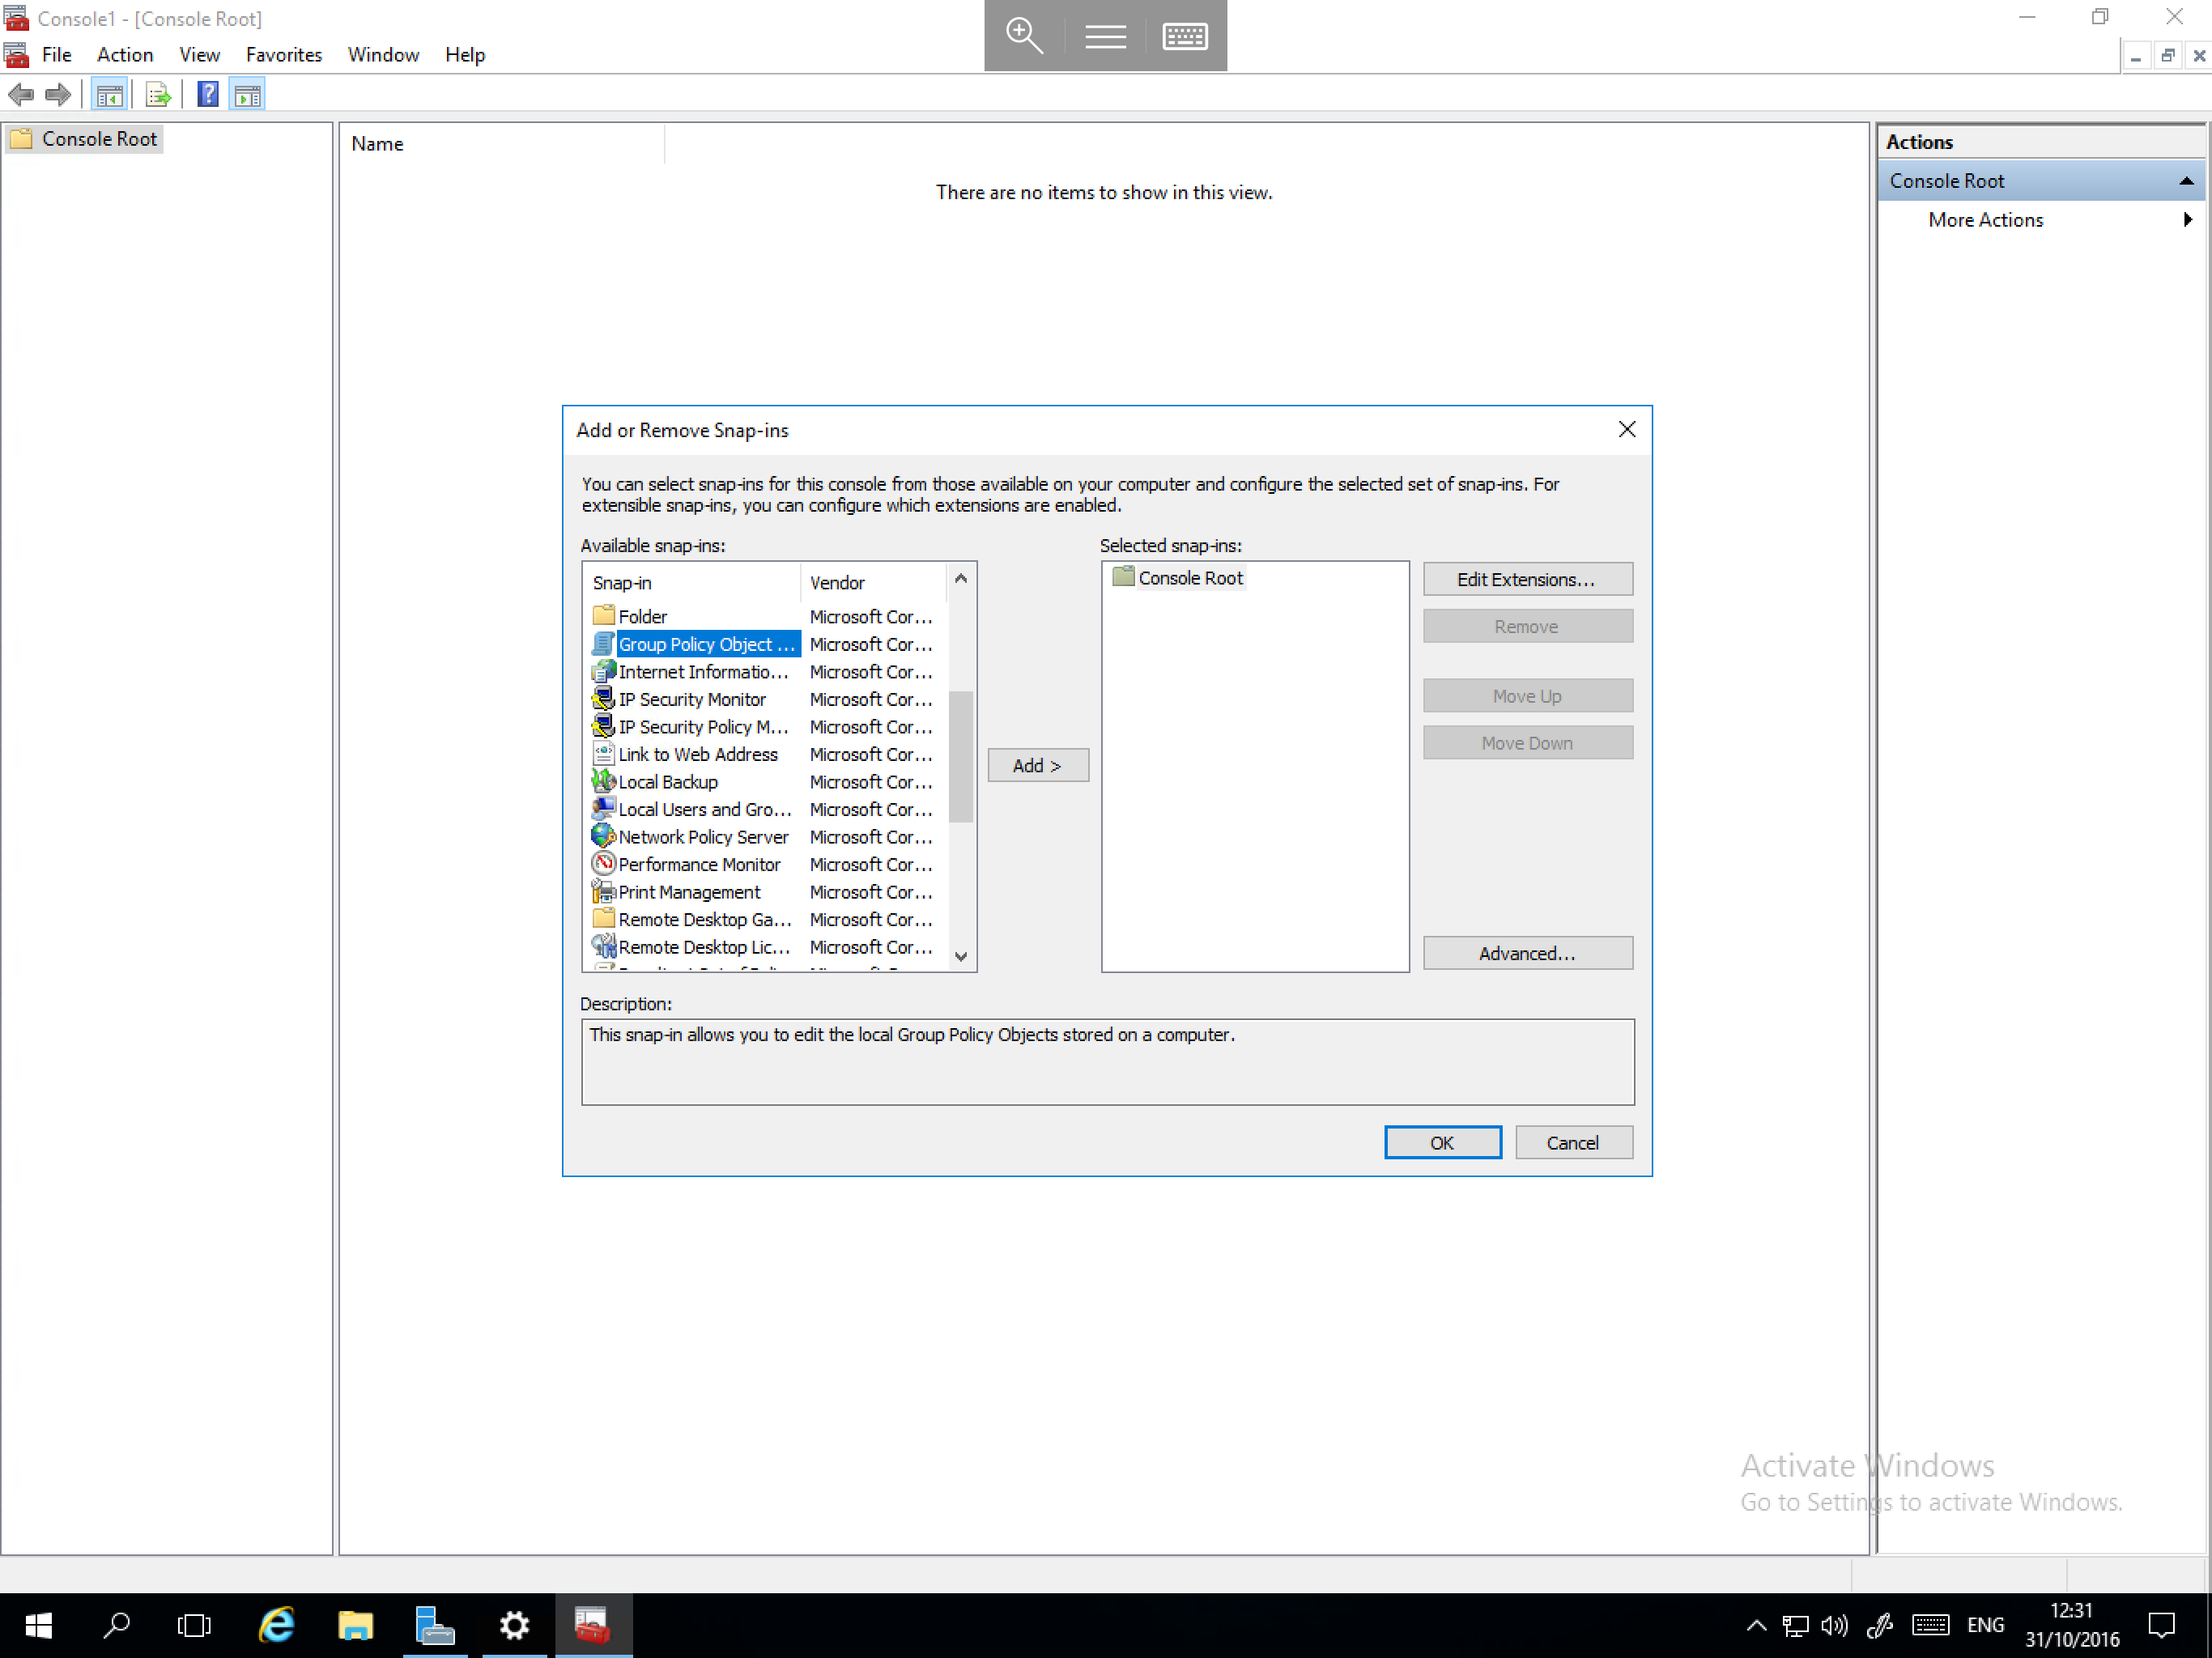
The Add or Remove Snap-ins window will now be presented. In the left hand side of the window, you will see Available snap-ins. Scroll down the list and select Group Policy Object Editor as below, then select the Add > button in the centre of the window.
You will now be presented with the Select Group Policy Object window. By default this should be pre-populated with Local Computer. Leave this as it is and select Finish as below:

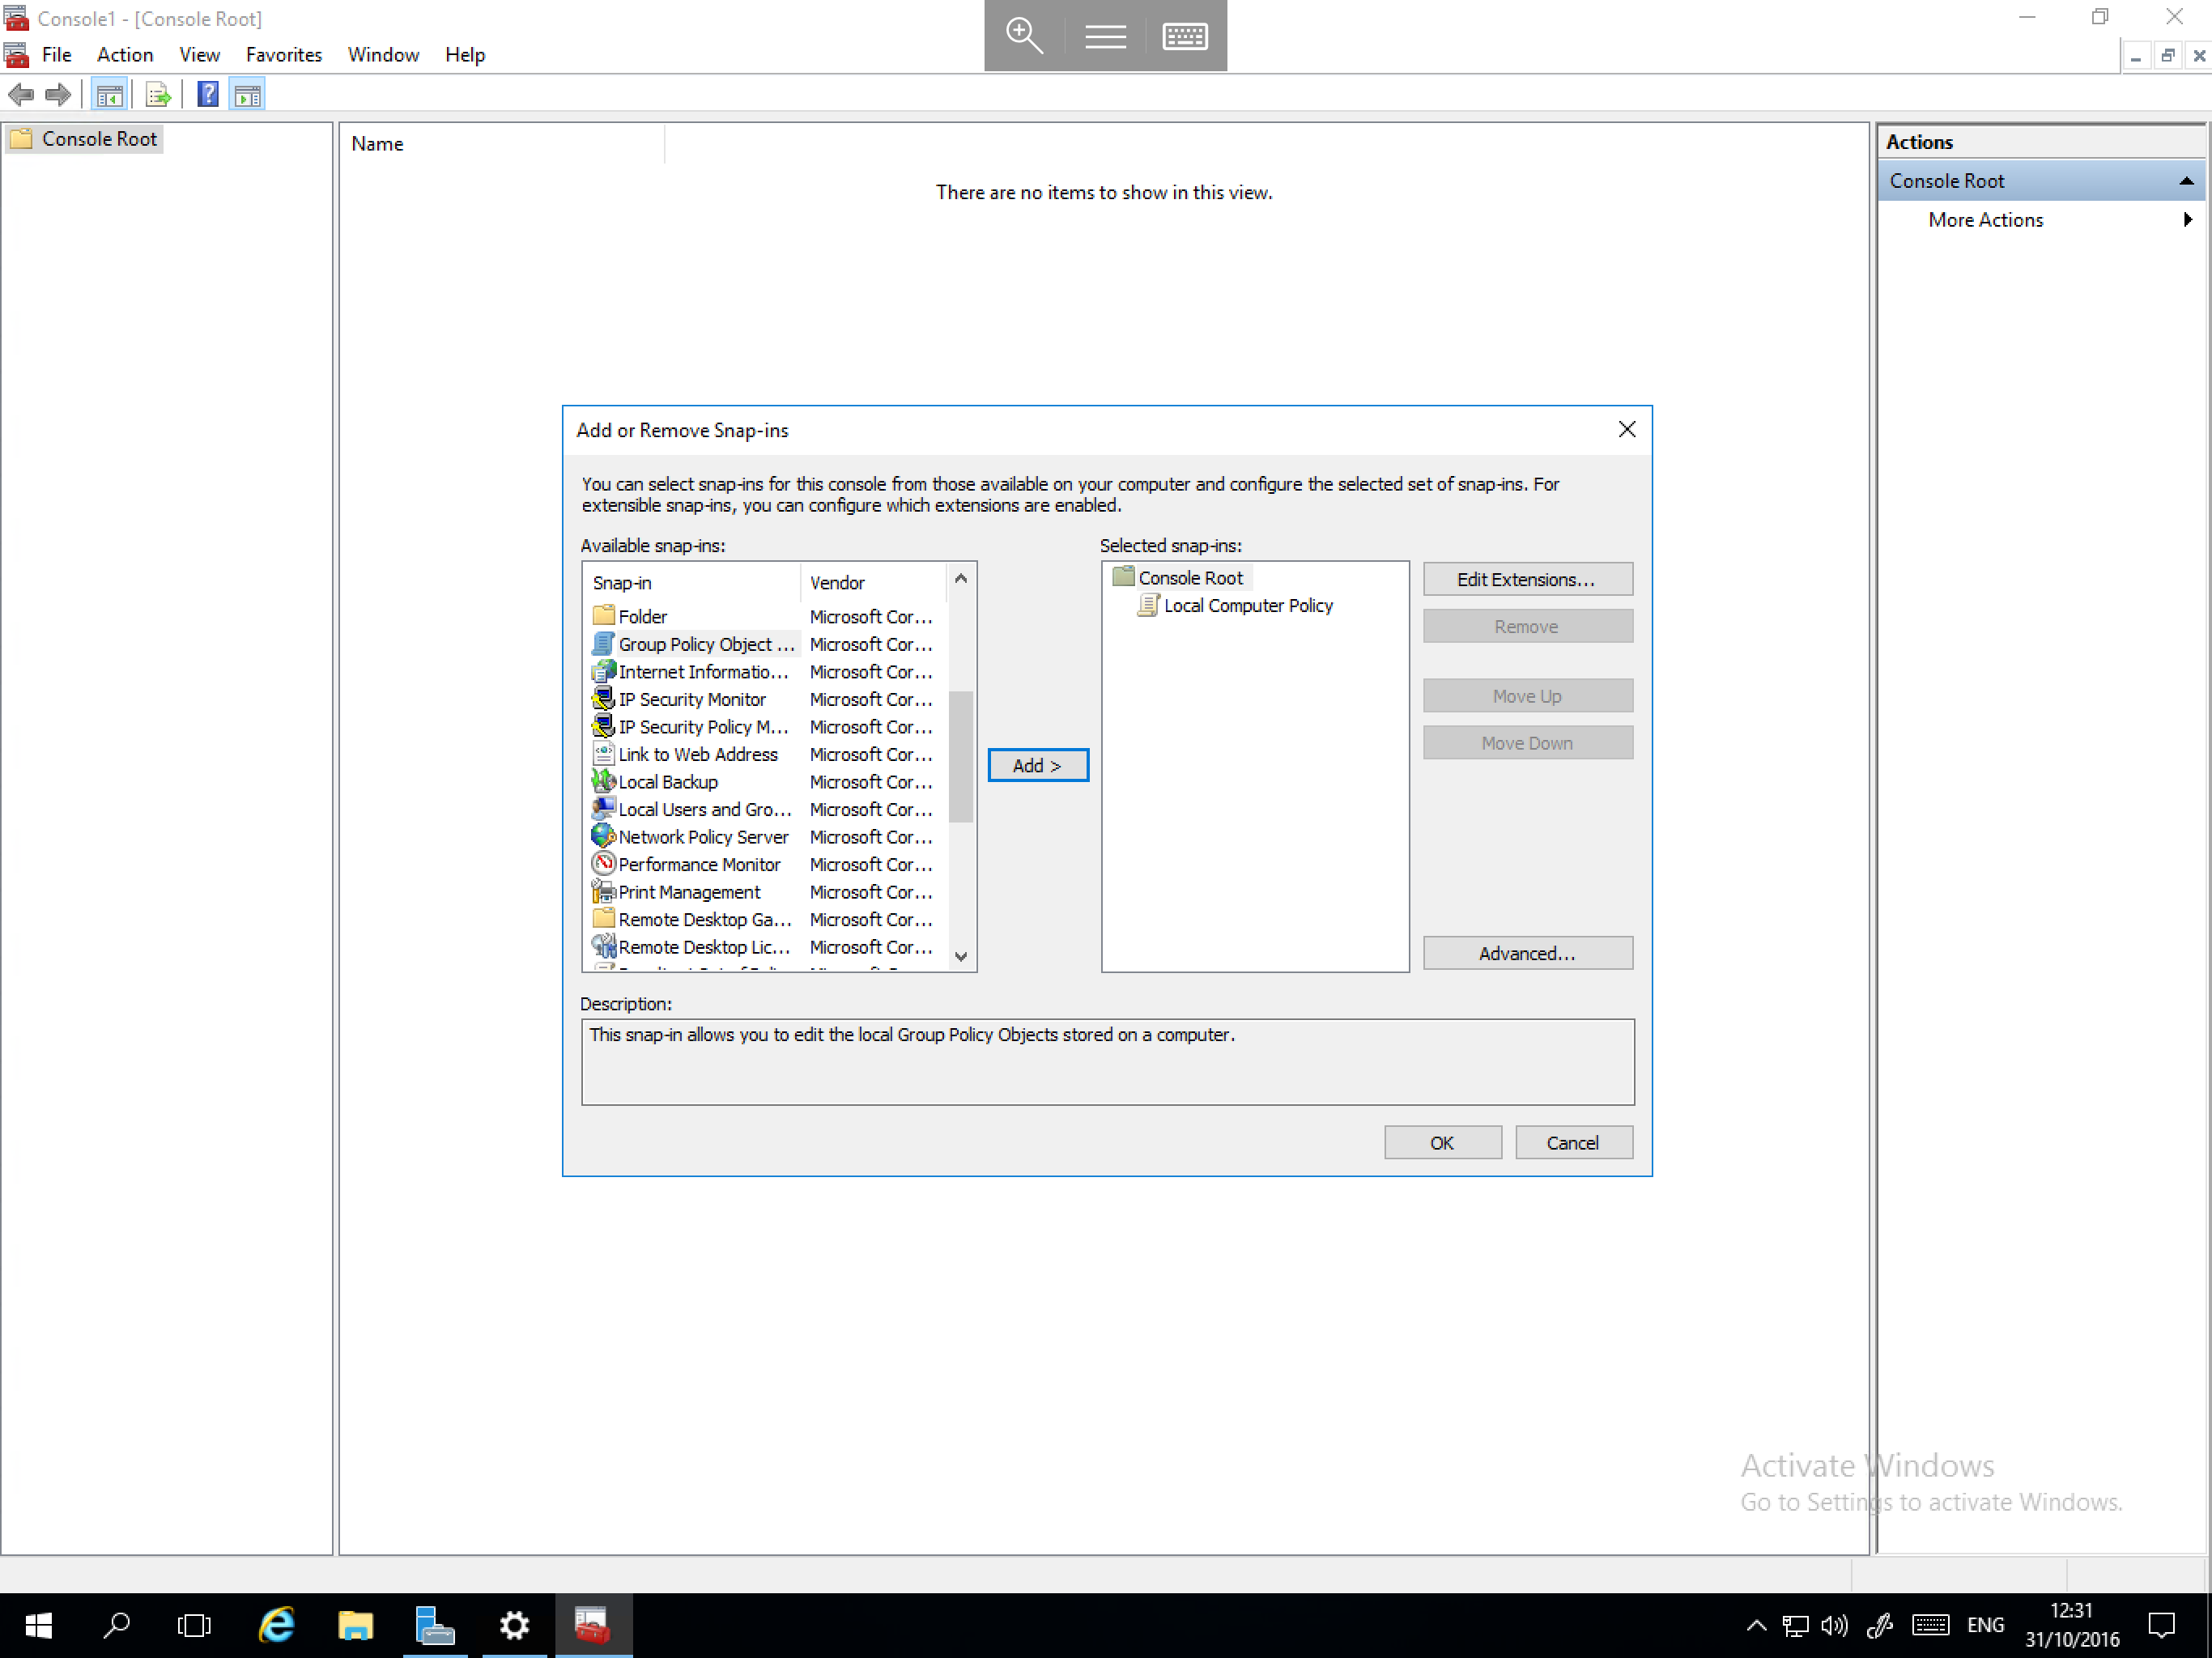
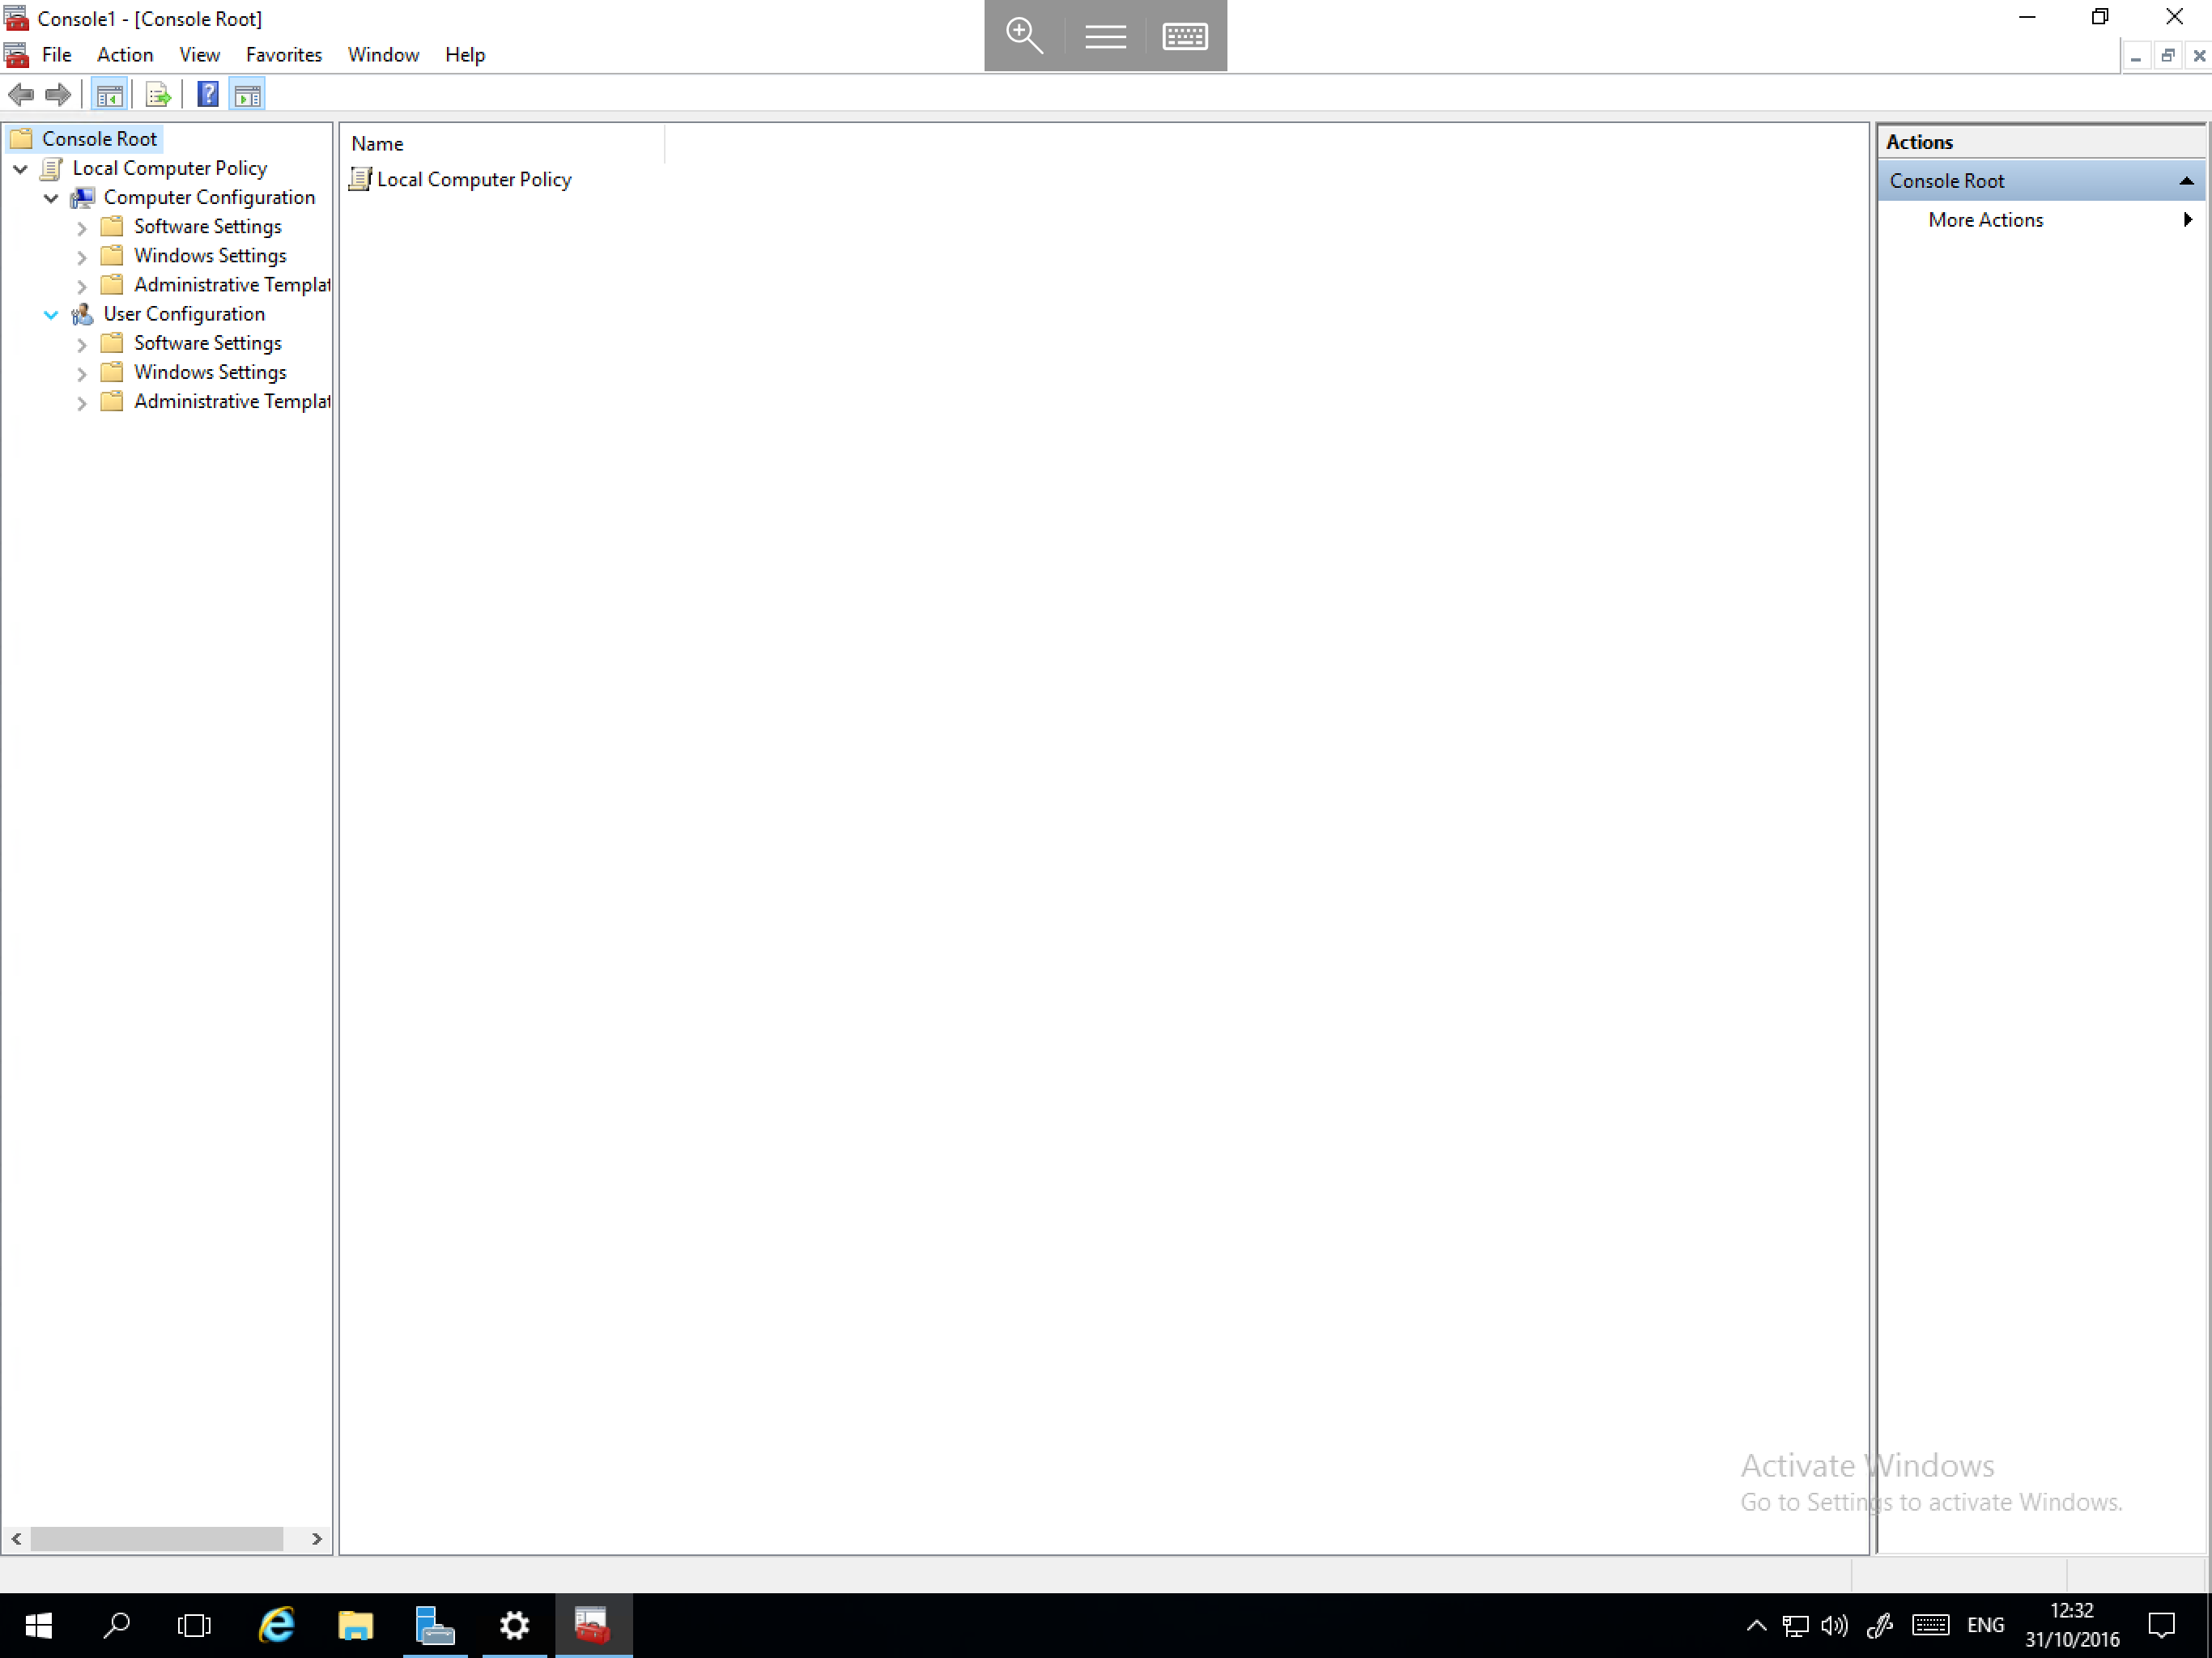
The Add or Remove Snap-ins window will now be returned to view. You should be able to see the Local Computer Policy listed in the Selected snap-ins section on the right hand side as below, now select OK.
You will now be returned to the Management Console. In the left hand field, you will be able to see Local Computer Policy. Select the arrow to pop the menu out and you will now be able to see the group policy as below.
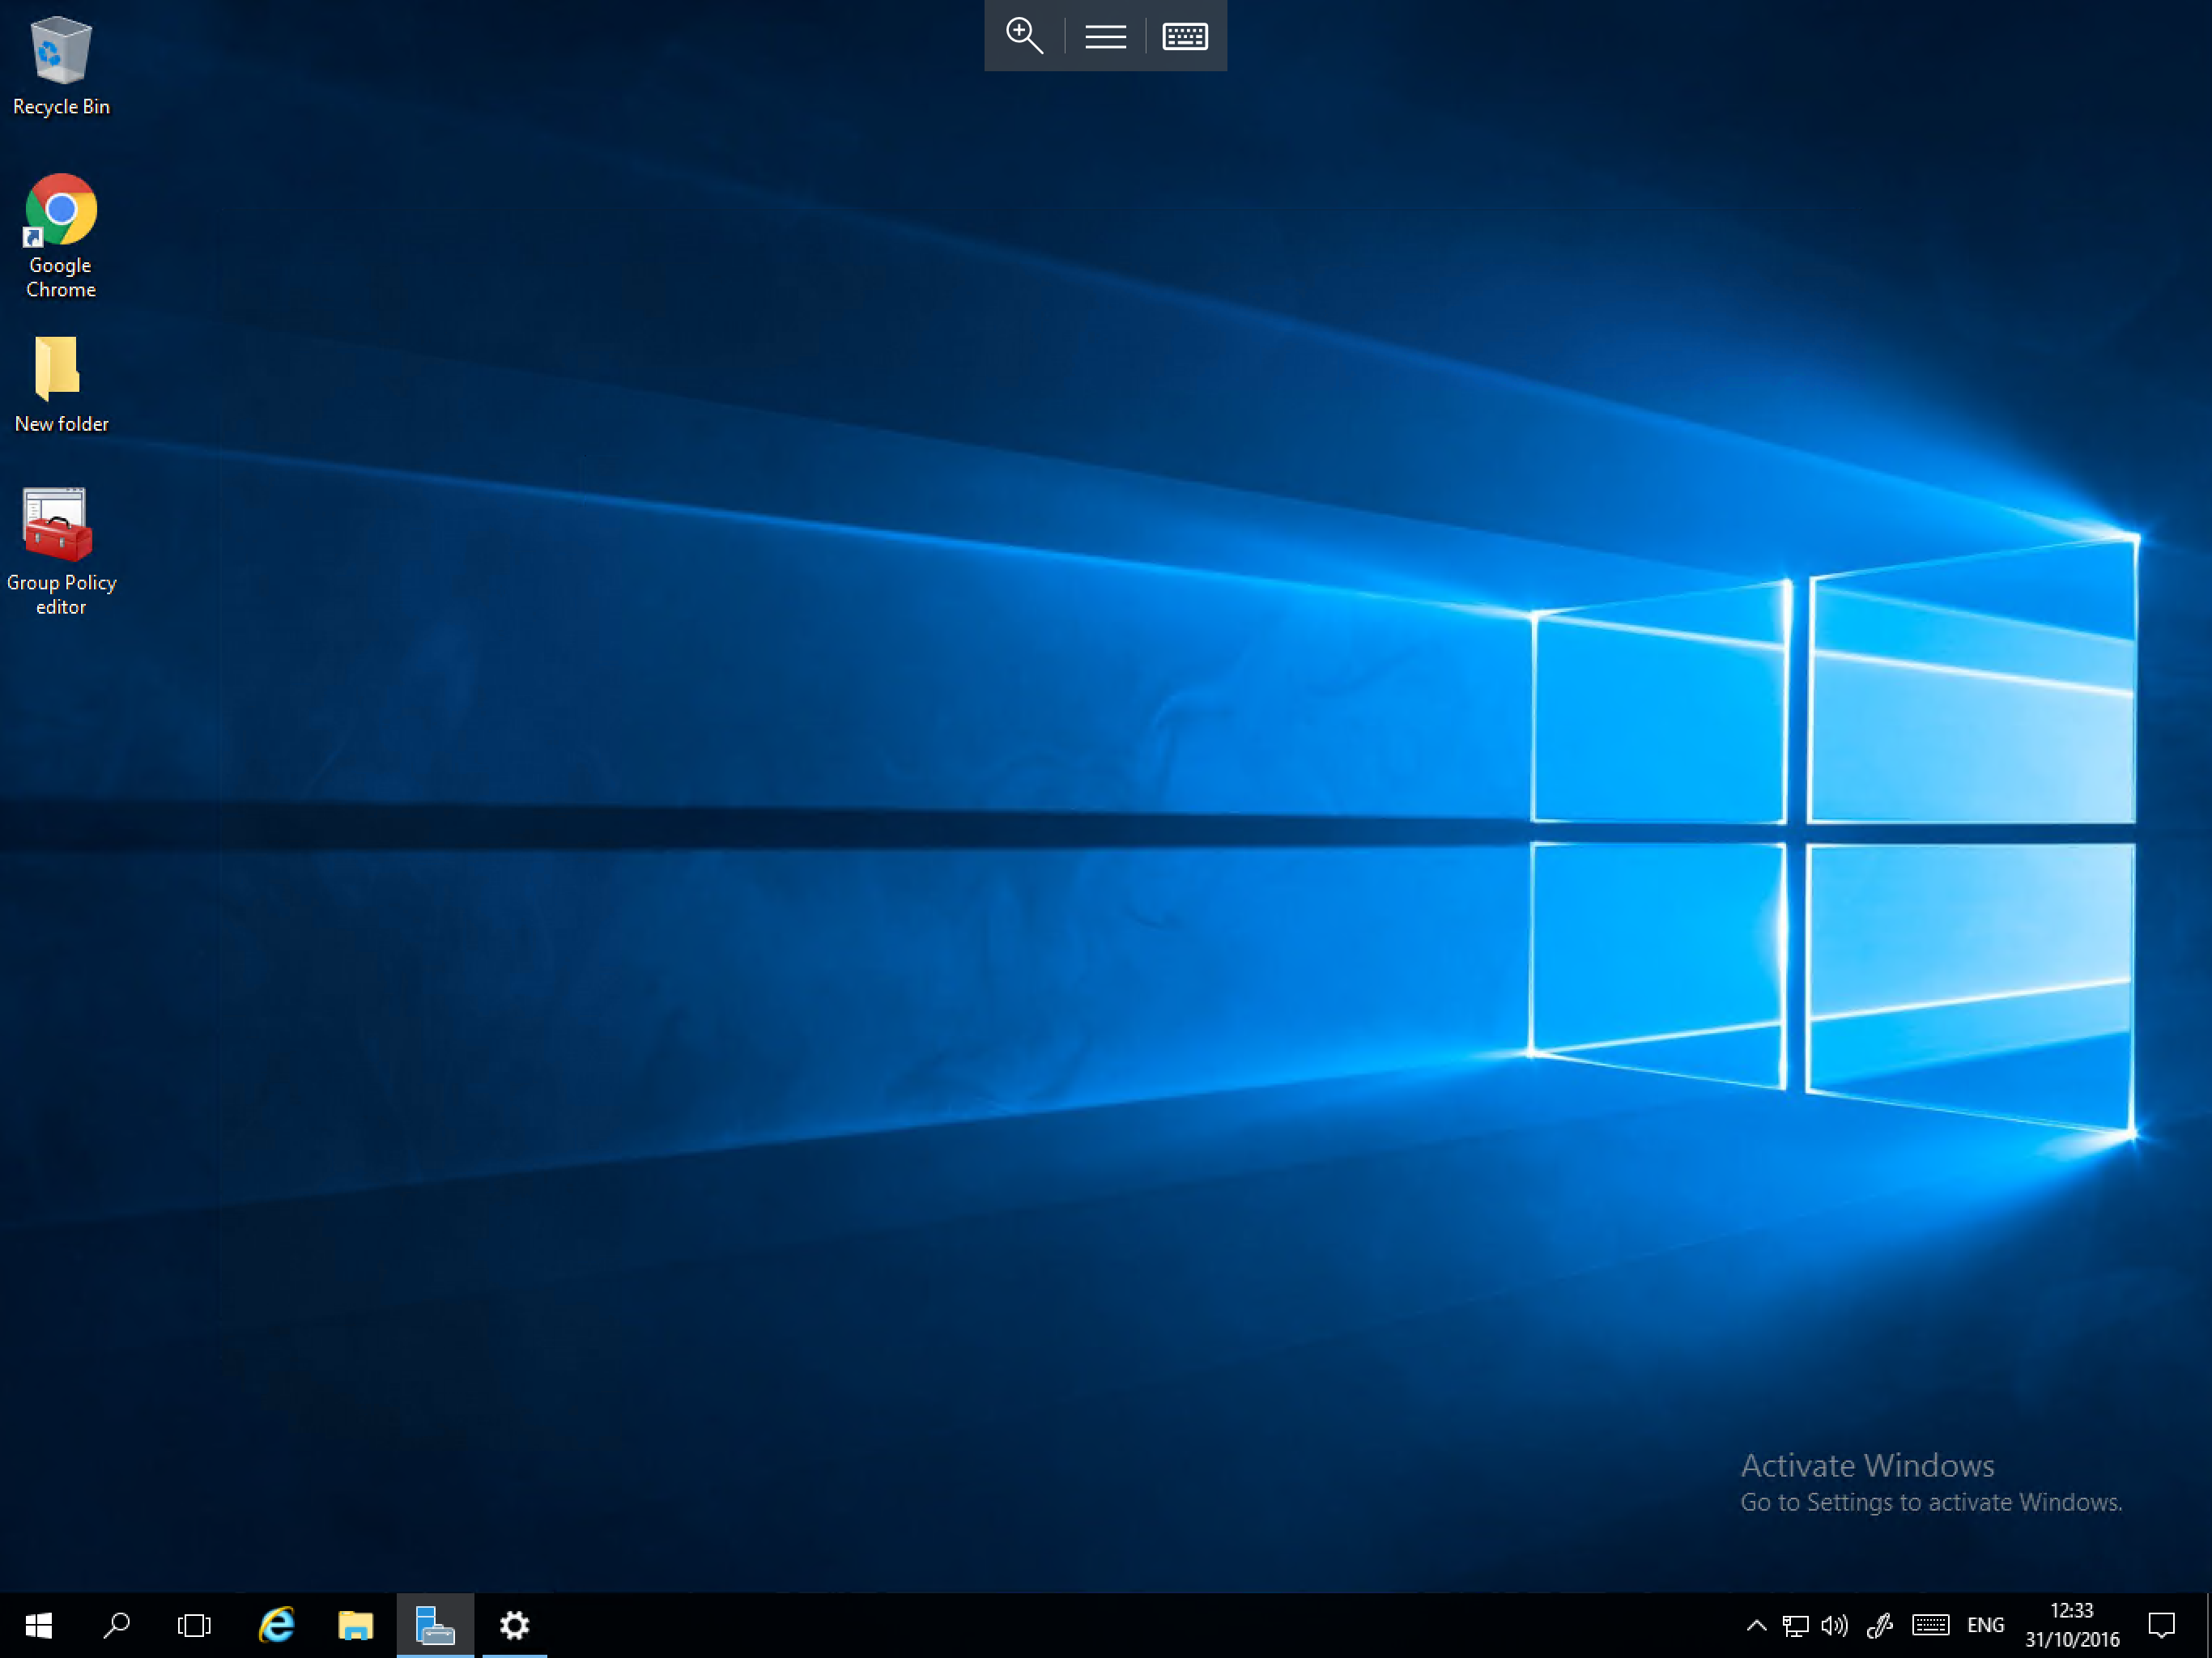
To ensure easy access to the group policy editor in future, we recommend saving the console view. This allows you to access the policy editor by simply opening a shortcut, as below:
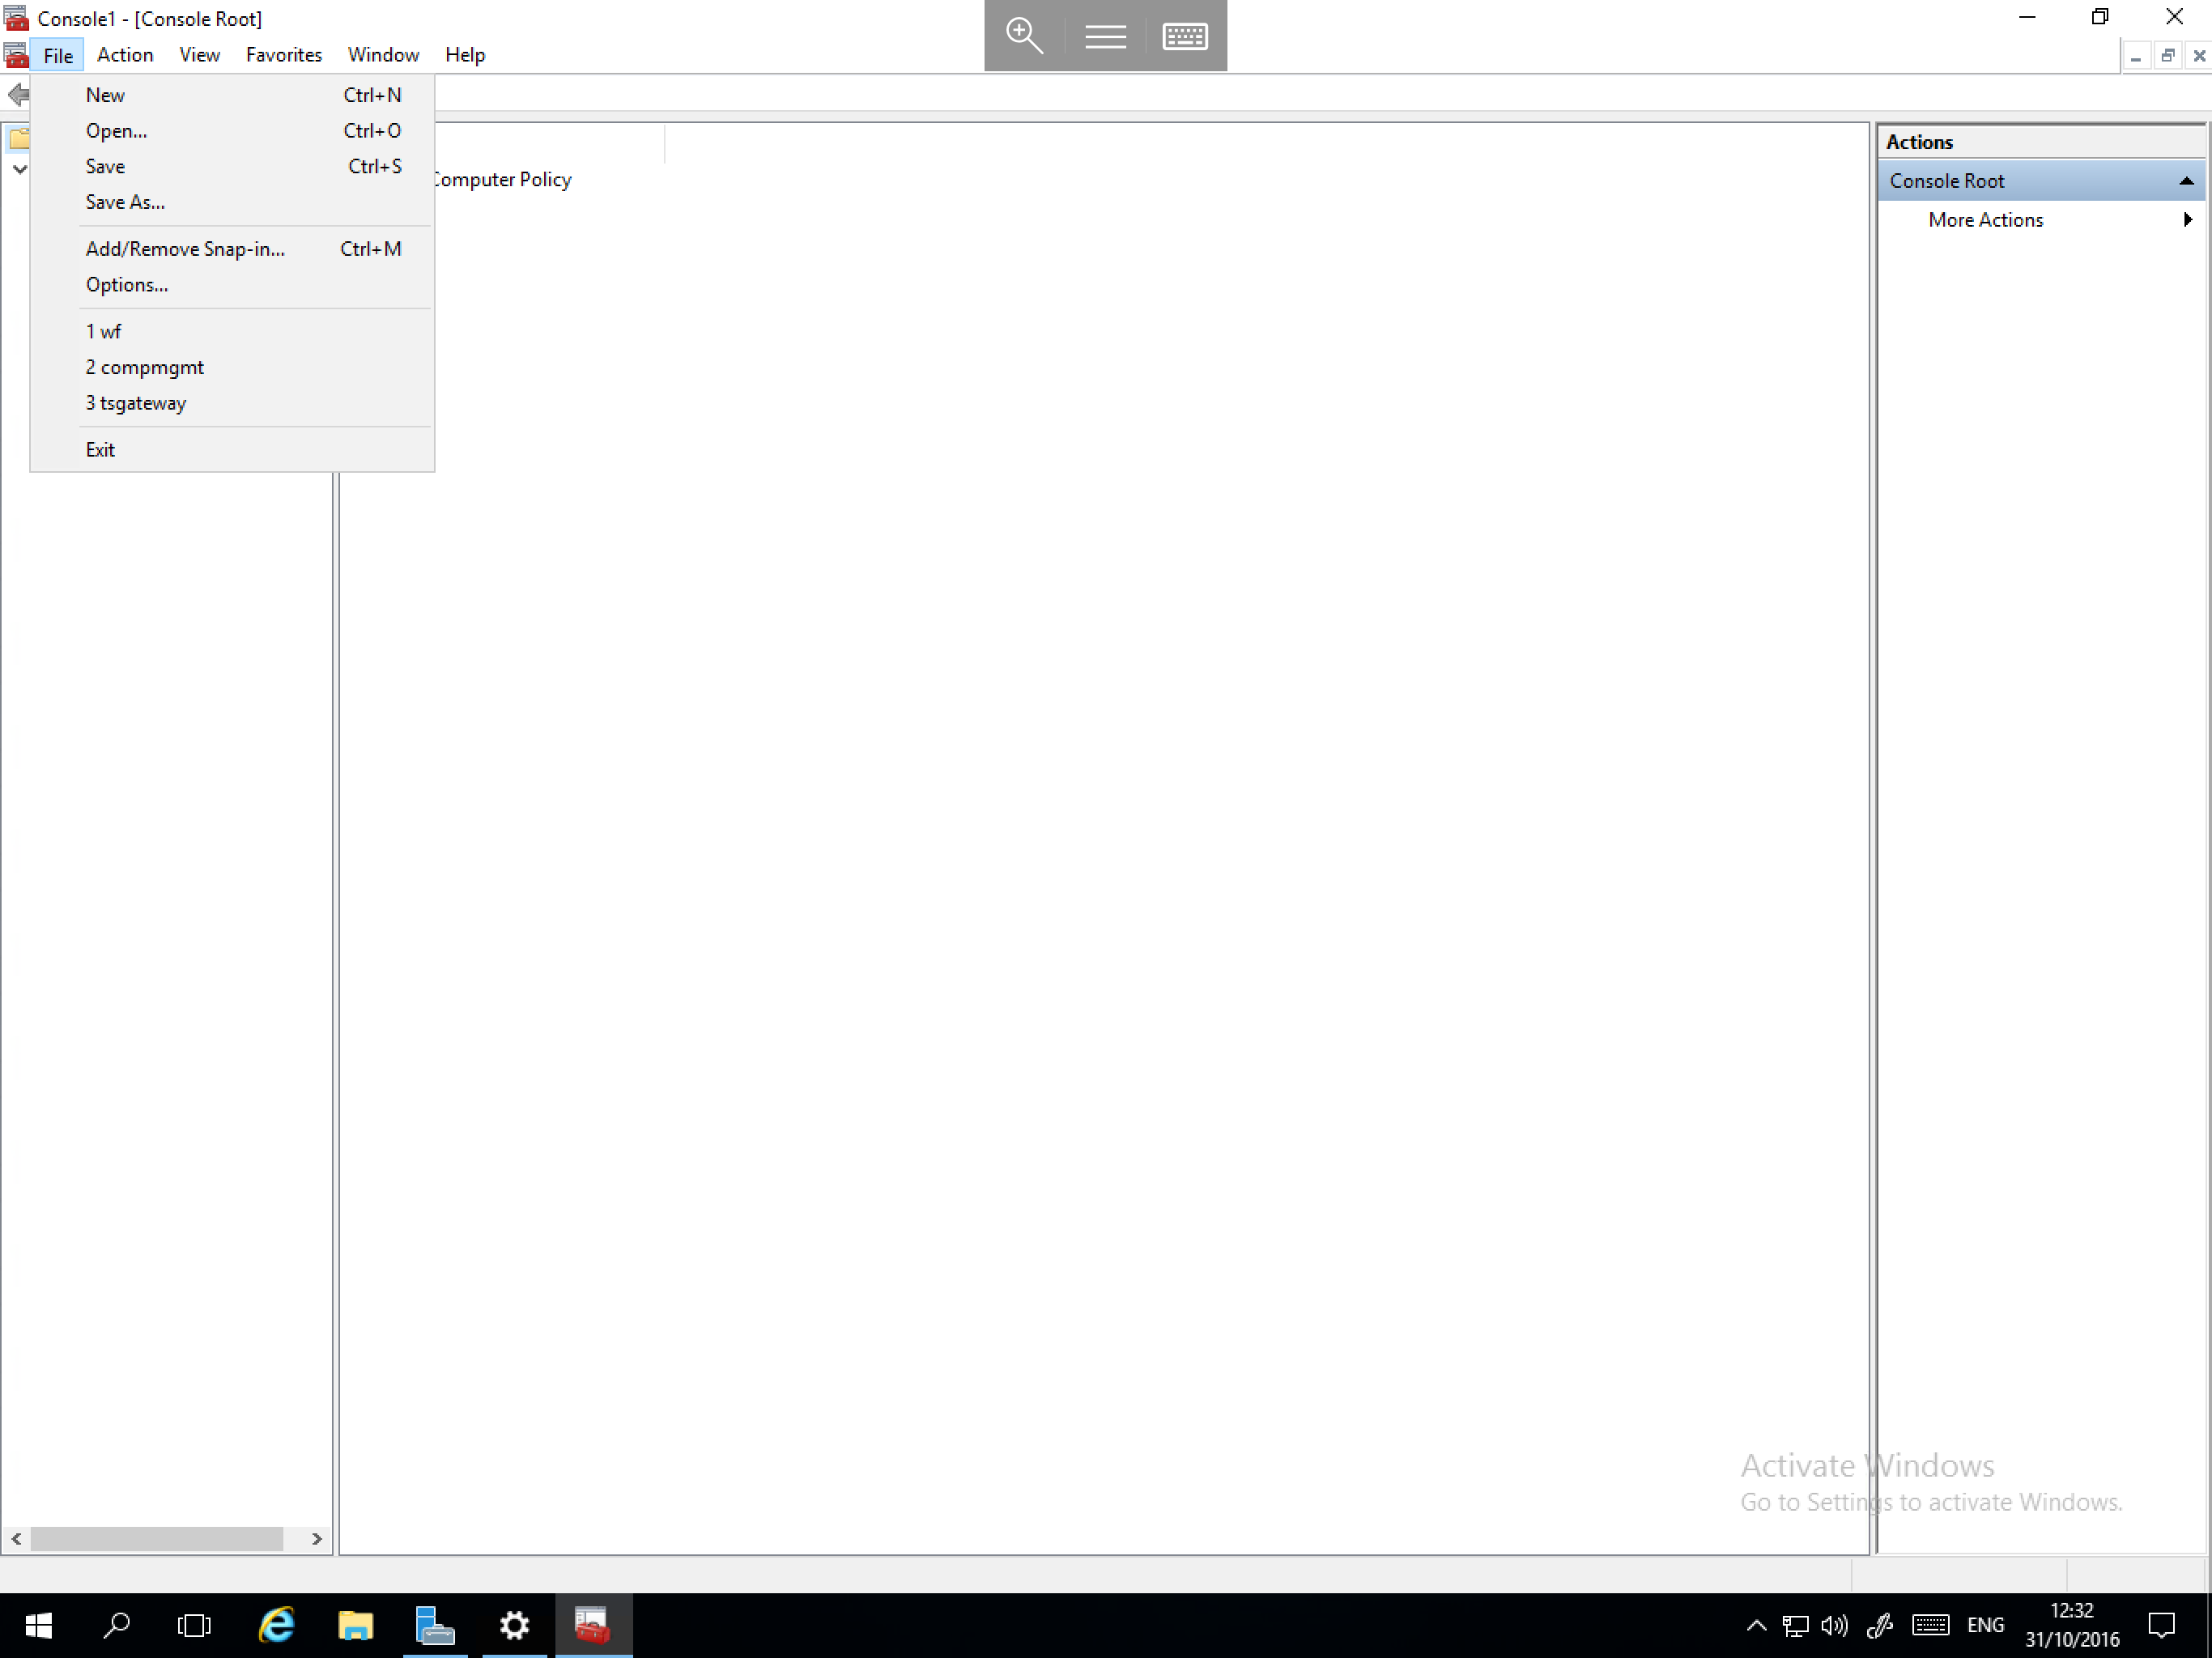
To save a copy of the console, from the console menu, select File, and select Save As..., as below:
Choose a location for the Console to be saved to and give it a name which will allow it to be identified in future such as "Group Policy Editor" and select the Save button.