How to add a new account in WHM
Once you've got your WHM server setup, you're going to want to add an account. In WHM, an account can be thought of as a catch-all term for a domain and associated resources. When you add an account, this creates:
- A
Virtual Hostfor your domain. - A
Userfor FTP / SFTP / SSH administration - A
Control Panelfor your domain, allowing for per user site administration (email, subdomains, PHP settings etc.)
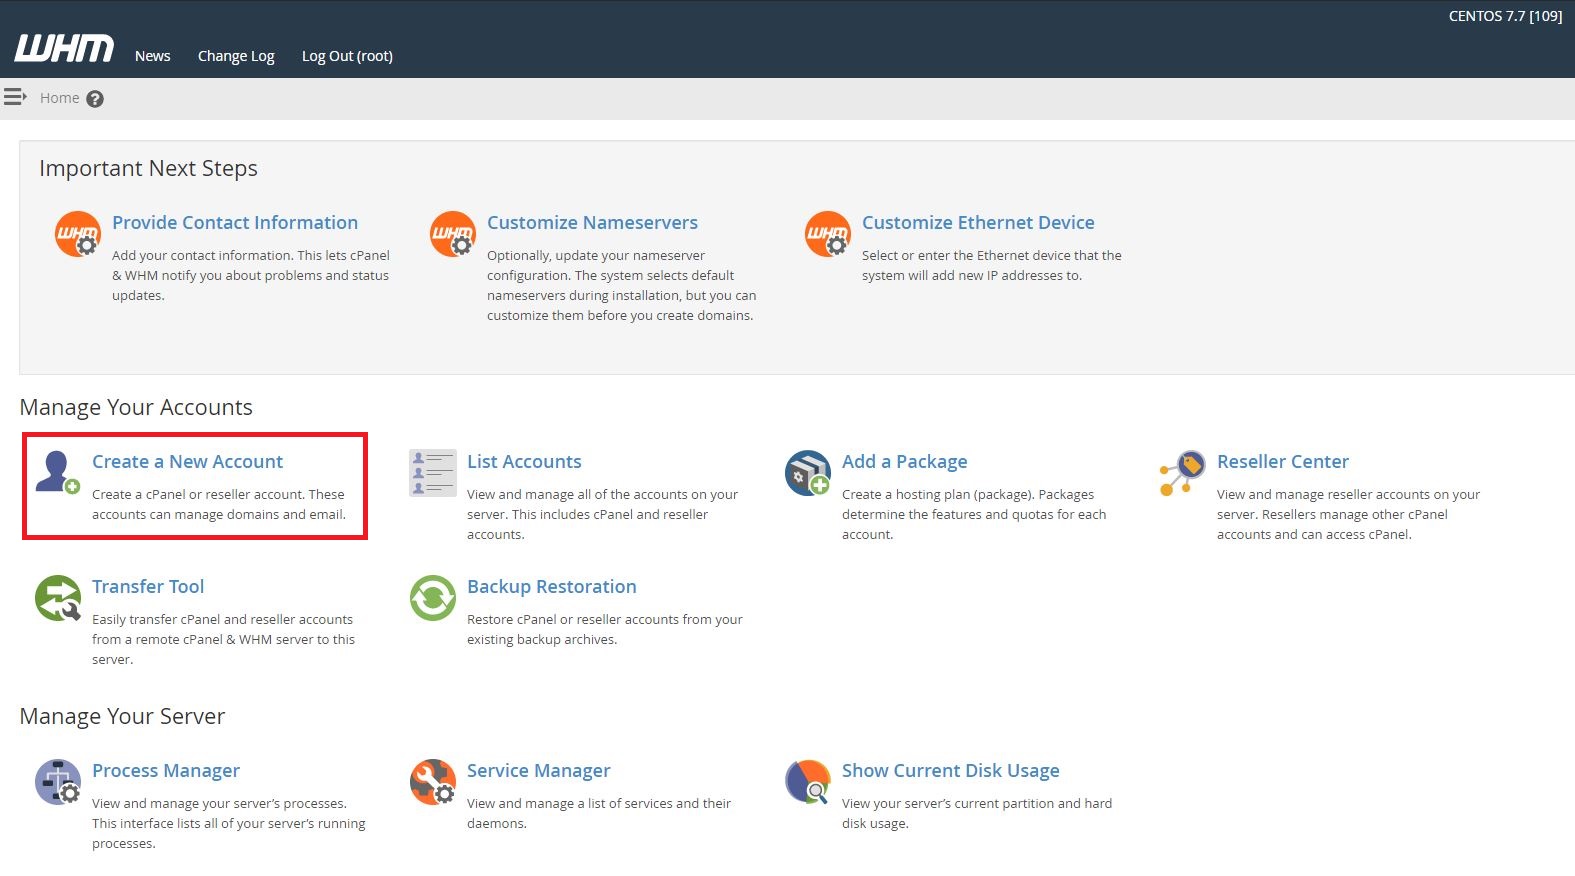
On the homepage of WHM, you will see a section called "Manage Your Accounts", and a "Create a New Account" button below that:
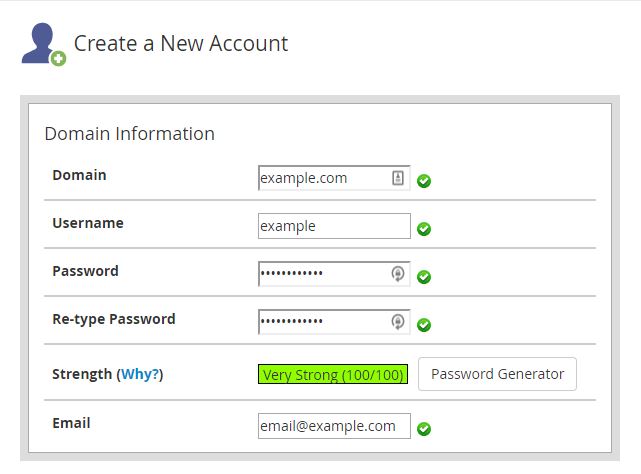
This will present you with a page to fill in information regarding the account that you're adding. The top section is "Domain Information". Fill in the relevant information for the account you're adding:
Avoid adding a domain that is the same as the hostname of the server, as this will break many WHM services.
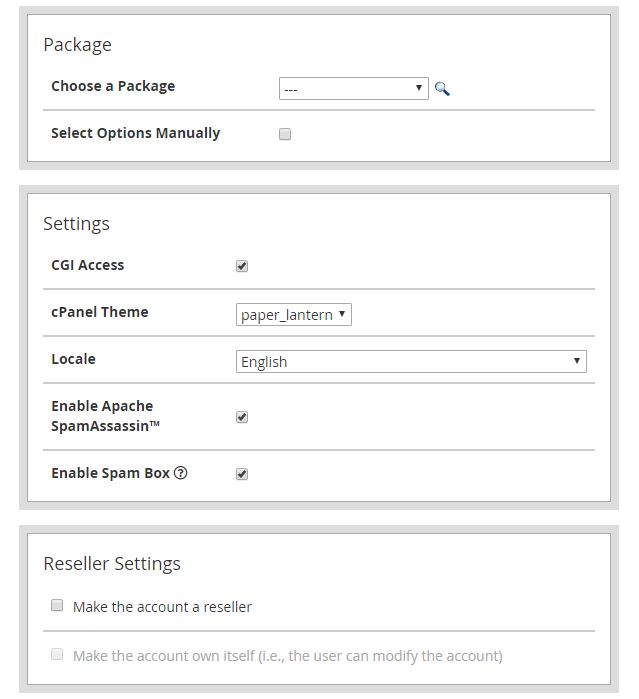
The next three sections can be left as the defaults:
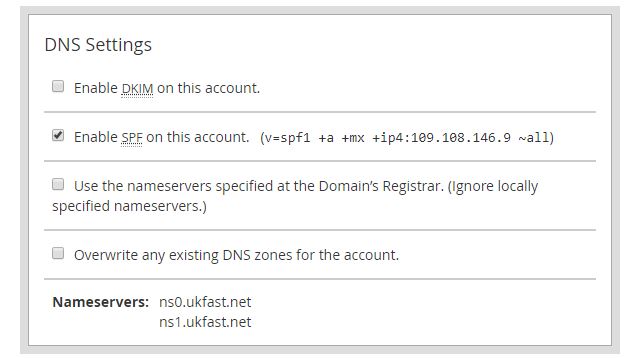
For the "DNS Settings" section, untick the box labelled "Enable DKIM on this account":
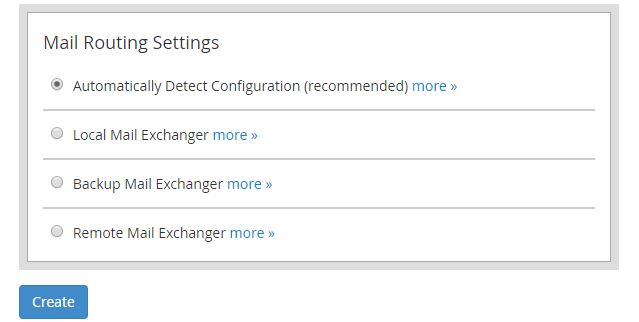
For the final section, "Mail Routing Settings", choose the automatic configuration option, then you can click "Create":
You've now added an account to WHM. You can now login, using the guide here!